API Keys
API keys provide secure authentication for accessing the AIDA Platform API from external applications. This guide explains how to create, manage, and use API keys.
Overview
API keys allow you to:
- Access the AIDA assistant API programmatically
- Integrate AIDA capabilities into your applications
- Use the MCP (Model Context Protocol) server
- Access public API endpoints securely
Base URL
All API endpoints use the following base URLs:
- Development:
http://localhost:8000/api - Production:
https://api.aida-platform.com/api
For public assistant endpoints:
- Development:
http://localhost:8000/api/assistant/public - Production:
https://api.aida-platform.com/api/assistant/public
For MCP server:
- Development:
http://localhost:8000/api/assistant/mcp - Production:
https://api.aida-platform.com/api/assistant/mcp
Creating API Keys
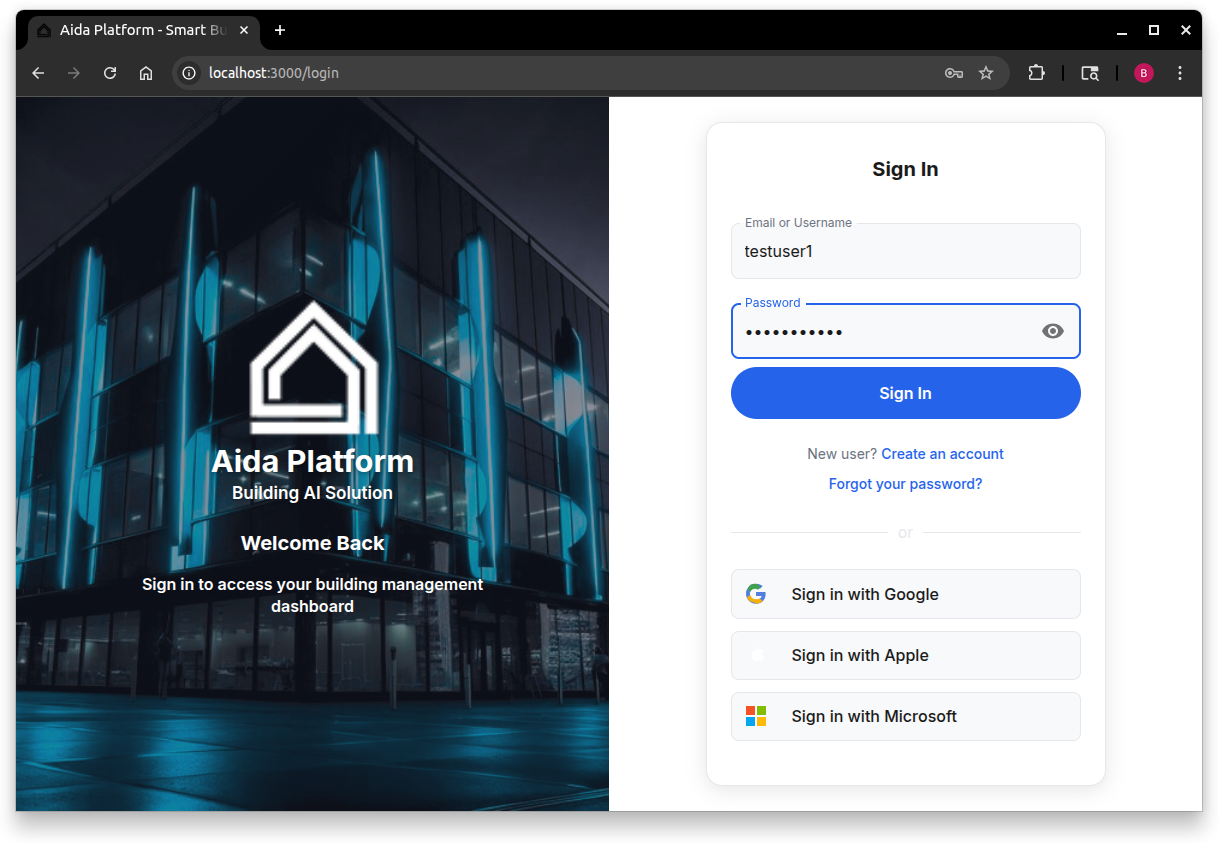
Step 1: Log In to AIDA
First, log in to the AIDA Platform application using your credentials.
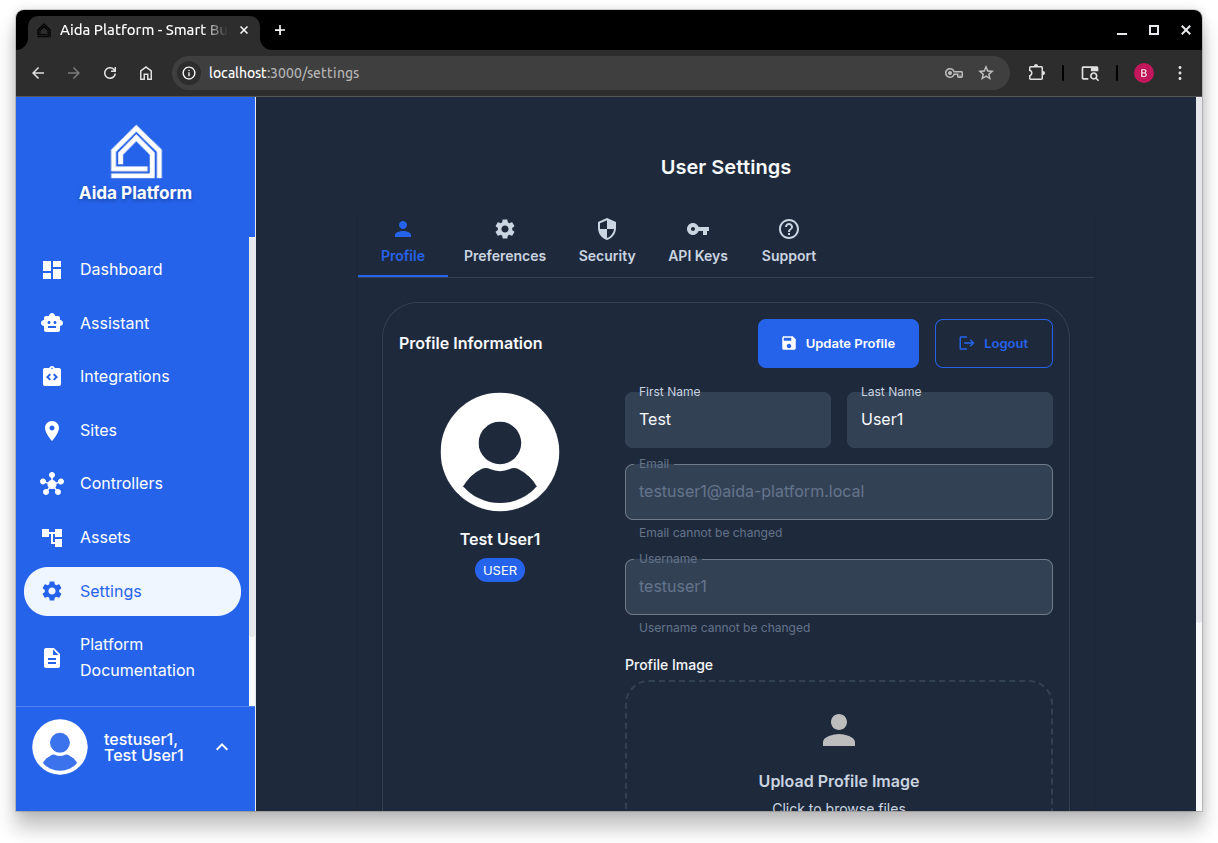
Step 2: Navigate to Settings
Once logged in, click on your profile or navigate to the Settings page from the main menu.
Step 3: Open API Keys Tab
In the Settings page, click on the API Keys tab to view and manage your API keys.
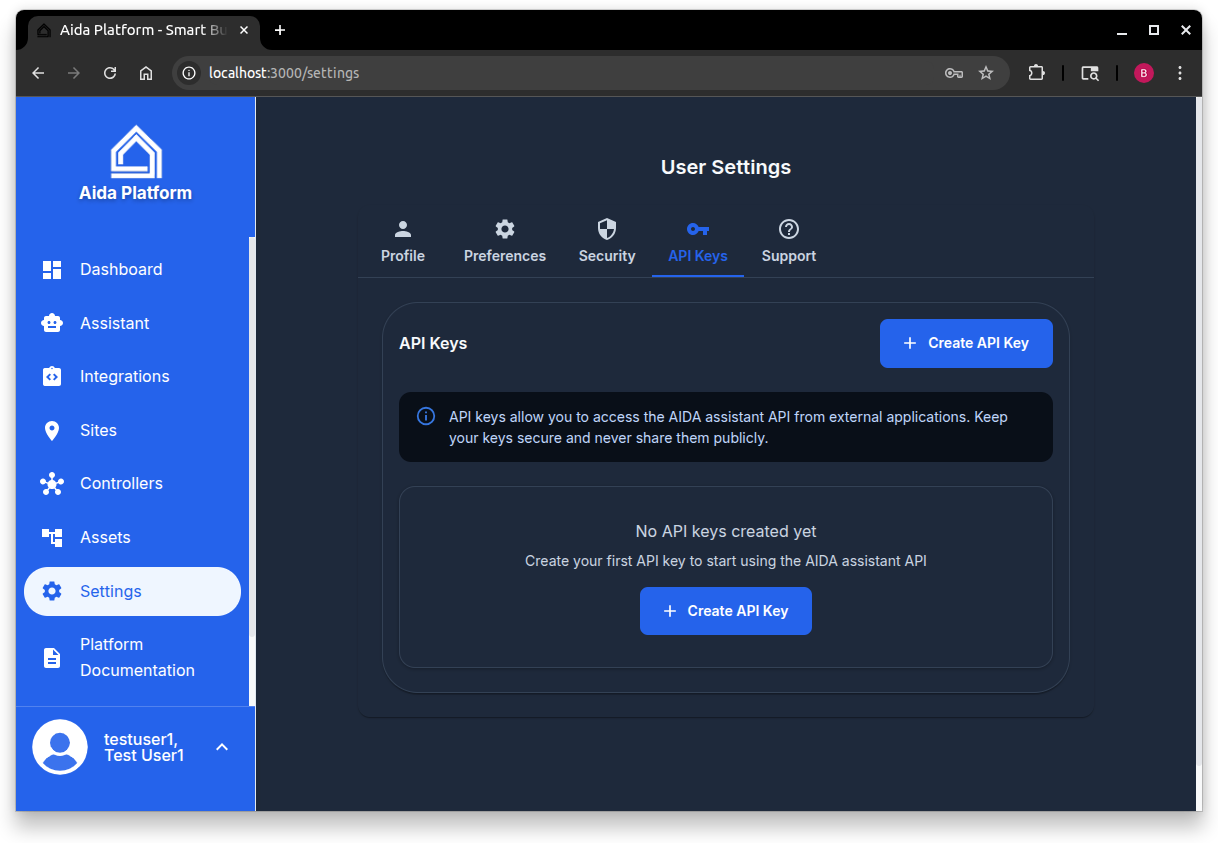
Step 4: Create New API Key
Click the Create API Key button to start creating a new key.
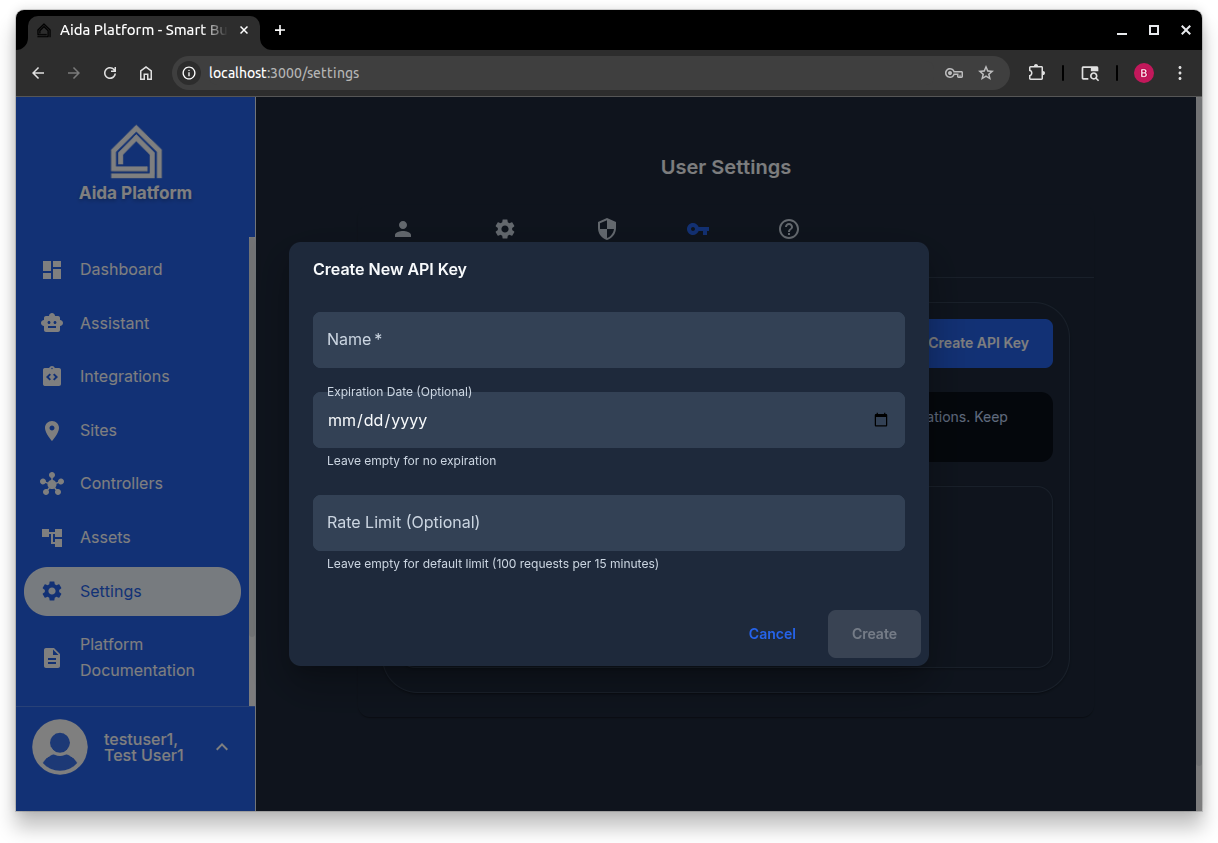
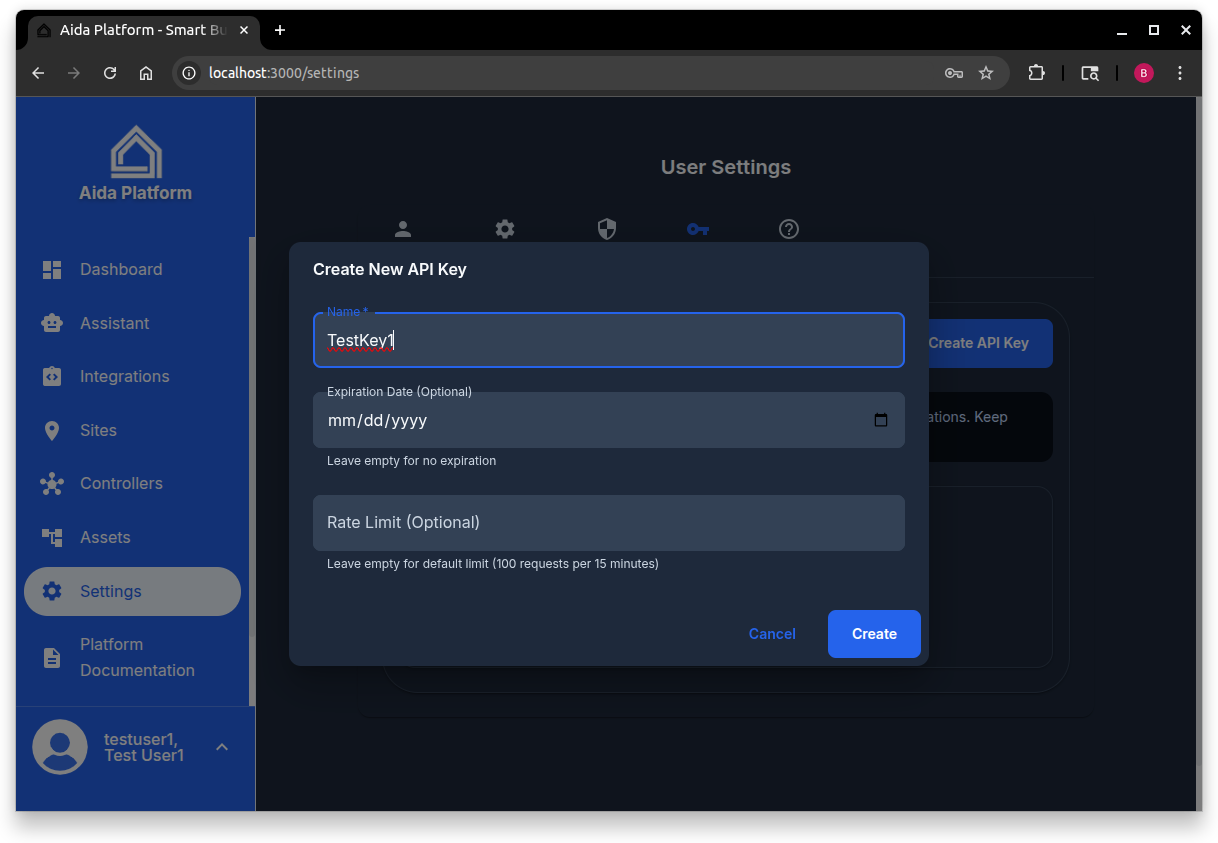
Step 5: Configure Your API Key
Fill in the API key creation form:
- Name (Required): A descriptive name for your API key (e.g., "Production API", "Test Script", "Mobile App")
- Expiration Date (Optional): Set when the key should expire
- Rate Limit (Optional): Custom rate limit (requests per 15 minutes). Leave empty for default (100 requests)
Step 6: Save Your API Key
After clicking Create, you'll see your new API key. This is the only time you'll see the full key!
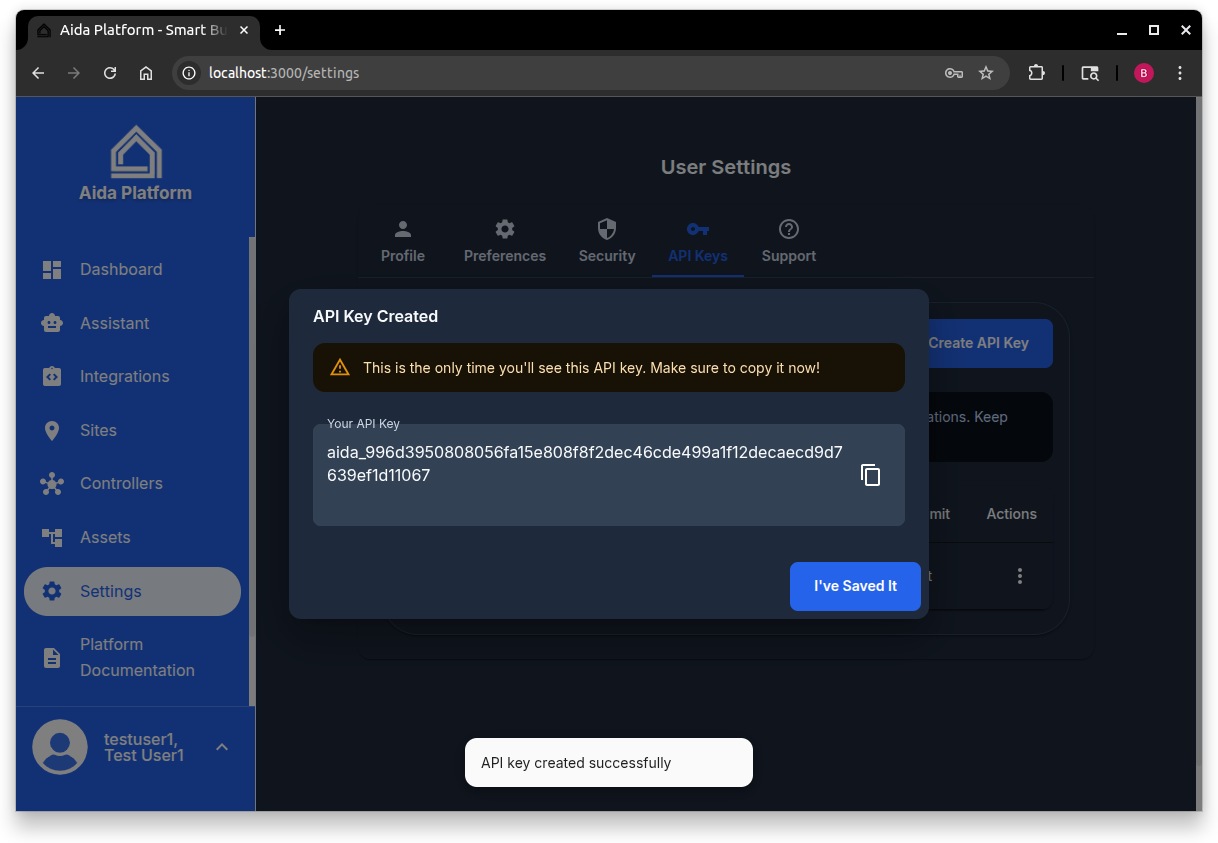
Important: Copy and save your API key immediately. The key format is:
aida_<64-character-hex-string>
Store it securely in:
- Environment variables
- Secure configuration files
- Password managers
- CI/CD secrets
Managing API Keys
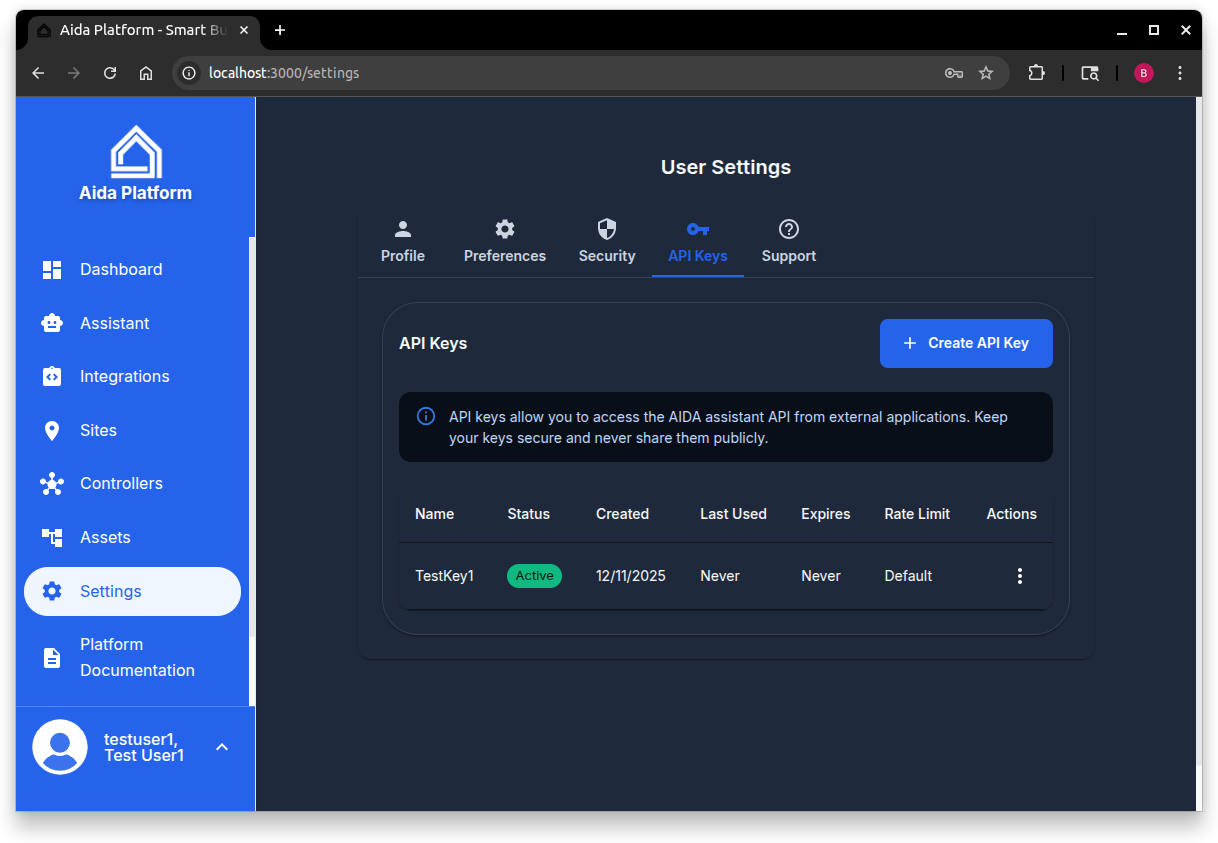
Viewing Your Keys
The API Keys page shows all your active keys with:
- Name: The descriptive name you assigned
- Status: Active, Expired, or Revoked
- Created: When the key was created
- Last Used: When the key was last used (if ever)
- Expires: Expiration date (if set)
- Rate Limit: Custom rate limit (if set)
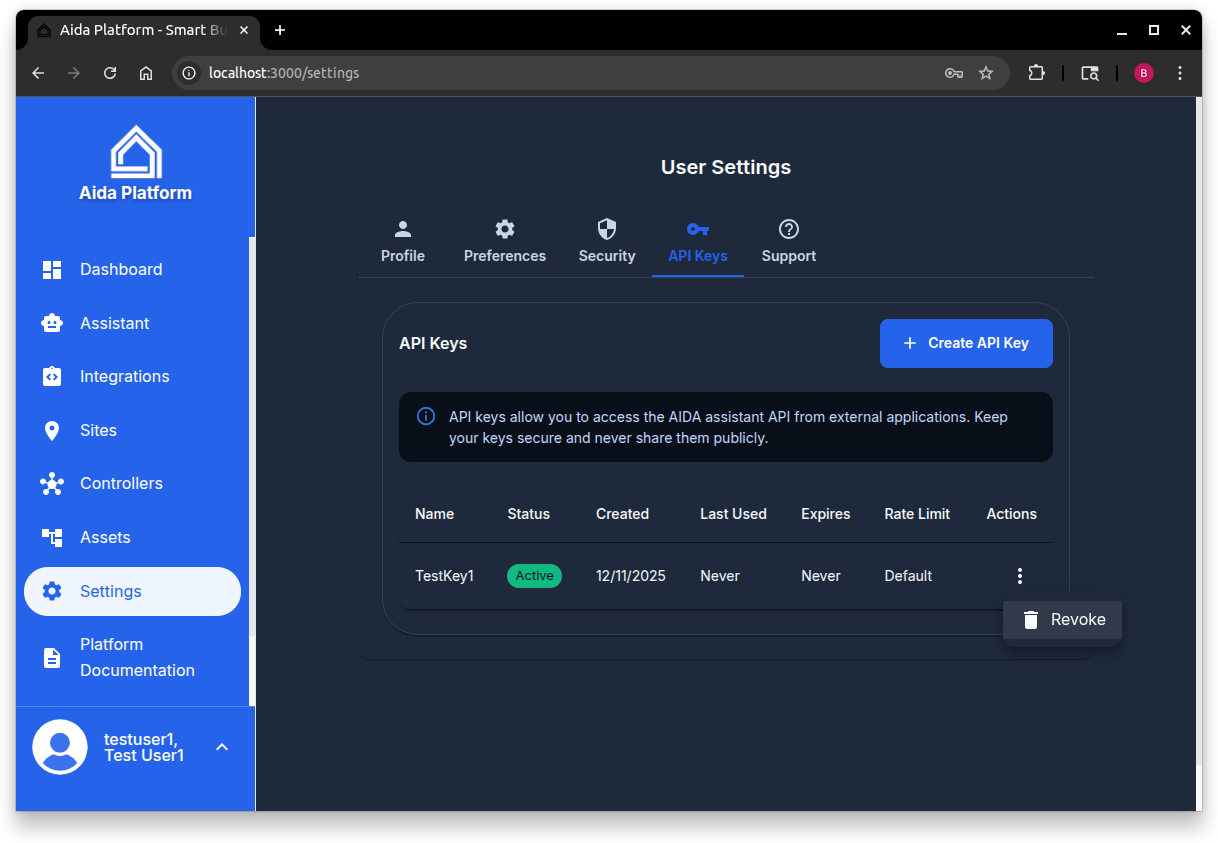
Revoking API Keys
To revoke an API key:
- Click the menu icon (⋮) next to the key
- Select Revoke
- Confirm the action
Revoked keys are deactivated but not deleted, allowing you to track their history.
Using API Keys
REST API
Include your API key in the X-API-Key header:
curl -X POST https://api.aida-platform.com/api/assistant/public/chat \
  -H "X-API-Key: aida_your_api_key_here" \
  -H "Content-Type: application/json" \
  -d '{
    "message": "What is my energy usage?",
    "sessionId": "my-session-123"
  }'
Or use it as a query parameter:
curl -X POST "https://api.aida-platform.com/api/assistant/public/chat?apiKey=aida_your_api_key_here" \
  -H "Content-Type: application/json" \
  -d '{
    "message": "What is my energy usage?"
  }'
MCP Server
Use your API key with the MCP server:
curl -X POST https://api.aida-platform.com/api/assistant/mcp \
  -H "X-API-Key: aida_your_api_key_here" \
  -H "Content-Type: application/json" \
  -d '{
    "method": "tools/list"
  }'
Python Example
import requests
import os
from dotenv import load_dotenv

load_dotenv()

api_key = os.getenv('API_KEY')
base_url = "https://api.aida-platform.com"

headers = {
    "X-API-Key": api_key,
    "Content-Type": "application/json"
}

response = requests.post(
    f"{base_url}/api/assistant/public/chat",
    headers=headers,
    json={
        "message": "What is my energy usage?",
        "sessionId": "my-session-123"
    }
)

print(response.json())
JavaScript/TypeScript Example
const apiKey = process.env.API_KEY;
const baseUrl = "https://api.aida-platform.com";

const response = await fetch(`${baseUrl}/api/assistant/public/chat`, {
  method: "POST",
  headers: {
    "X-API-Key": apiKey,
    "Content-Type": "application/json",
  },
  body: JSON.stringify({
    message: "What is my energy usage?",
    sessionId: "my-session-123",
  }),
});

const data = await response.json();
console.log(data);
API Key Properties
Name
A human-readable identifier for your API key. Use descriptive names like:
- "Production API Key"
- "Development Testing"
- "Mobile App Integration"
- "CI/CD Pipeline"
Expiration Date
Optional expiration date for the key. After expiration, the key will be automatically deactivated. Useful for:
- Temporary integrations
- Testing environments
- Time-limited access
Rate Limit
Custom rate limit in requests per 15-minute window. Default is 100 requests per 15 minutes. Set higher limits for:
- Production applications
- High-traffic integrations
- Batch processing
Status
- Active: Key is active and can be used
- Expired: Key has passed its expiration date
- Revoked: Key has been manually deactivated
Security Best Practices
1. Store Keys Securely
- Never commit API keys to version control
- Use environment variables or secret management systems
- Store in
.envfiles (and add to.gitignore) - Use secure vaults (AWS Secrets Manager, HashiCorp Vault, etc.)
2. Use Different Keys for Different Environments
- Separate keys for development, staging, and production
- Different keys for different applications
- Rotate keys regularly
3. Set Expiration Dates
- Set expiration dates for temporary integrations
- Review and extend expirations as needed
- Automate key rotation for long-term use
4. Monitor Usage
- Regularly check "Last Used" timestamps
- Revoke unused keys
- Monitor for suspicious activity
5. Implement Rate Limiting
- Set appropriate rate limits for your use case
- Monitor rate limit headers in responses
- Implement backoff strategies
6. Rotate Keys Regularly
- Create new keys periodically
- Update applications with new keys
- Revoke old keys after migration
Rate Limiting
All API requests are subject to rate limiting:
Default Limits
- API Keys: 100 requests per 15 minutes
- JWT Authenticated: 200 requests per 15 minutes
- Unauthenticated: 20 requests per 15 minutes
Custom Limits
You can set custom rate limits when creating API keys. Higher limits are available for:
- Production applications
- Enterprise integrations
- High-volume use cases
Rate Limit Headers
Responses include rate limit information:
X-RateLimit-Limit: 100
X-RateLimit-Remaining: 95
X-RateLimit-Reset: 2025-12-11T17:15:00.000Z
Handling Rate Limits
When rate limited, you'll receive a 429 Too Many Requests response:
{
  "success": false,
  "error": "Rate limit exceeded",
  "message": "Too many requests, please try again later.",
  "retryAfter": 900,
  "limit": 100,
  "windowMs": 900000
}
Implement exponential backoff:
import time
import requests

def make_request_with_retry(url, headers, data, max_retries=3):
    for attempt in range(max_retries):
        response = requests.post(url, headers=headers, json=data)

        if response.status_code == 429:
            retry_after = int(response.json().get('retryAfter', 60))
            wait_time = min(retry_after, 2 ** attempt * 60)
            print(f"Rate limited. Waiting {wait_time} seconds...")
            time.sleep(wait_time)
            continue

        return response

    raise Exception("Max retries exceeded")
Troubleshooting
"API key required" Error
Problem: Request fails with "API key required"
Solutions:
- Verify you're including the
X-API-Keyheader - Check that the API key is correctly copied (no extra spaces)
- Ensure the API key starts with
aida_
"Invalid or inactive API key" Error
Problem: Request fails with "Invalid or inactive API key"
Solutions:
- Verify the API key is correct
- Check if the key has been revoked
- Ensure the key hasn't expired
- Verify the key belongs to an active user account
"Rate limit exceeded" Error
Problem: Request fails with "Rate limit exceeded"
Solutions:
- Wait for the rate limit window to reset
- Check the
X-RateLimit-Resetheader for reset time - Create a new API key with a higher rate limit
- Implement exponential backoff in your application
Key Not Showing After Creation
Problem: Can't see the API key after creating it
Solutions:
- API keys are only shown once during creation
- If you didn't copy it, you'll need to create a new key
- Revoke the old key if you can't use it
API Endpoints
Create API Key
POST /api/api-keys
Authorization: Bearer <JWT_TOKEN>
Content-Type: application/json

{
  "name": "My API Key",
  "expiresAt": "2025-12-31T23:59:59Z",
  "rateLimit": 200,
  "permissions": {}
}
List API Keys
GET /api/api-keys
Authorization: Bearer <JWT_TOKEN>
Get API Key Details
GET /api/api-keys/{id}
Authorization: Bearer <JWT_TOKEN>
Update API Key
PUT /api/api-keys/{id}
Authorization: Bearer <JWT_TOKEN>
Content-Type: application/json

{
  "name": "Updated Name",
  "expiresAt": "2026-12-31T23:59:59Z",
  "rateLimit": 300,
  "isActive": true
}
Revoke API Key
DELETE /api/api-keys/{id}
Authorization: Bearer <JWT_TOKEN>
Permanently delete:
DELETE /api/api-keys/{id}?permanent=true
Authorization: Bearer <JWT_TOKEN>
Next Steps
- MCP Server - Use API keys with the Model Context Protocol server
- Public API - Explore public API endpoints
- Authentication - Learn about JWT authentication
- AI Assistant Features - Discover assistant capabilities
Ready to create your first API key? Log in to the AIDA app and navigate to Settings > API Keys to get started!